


Product Details
+
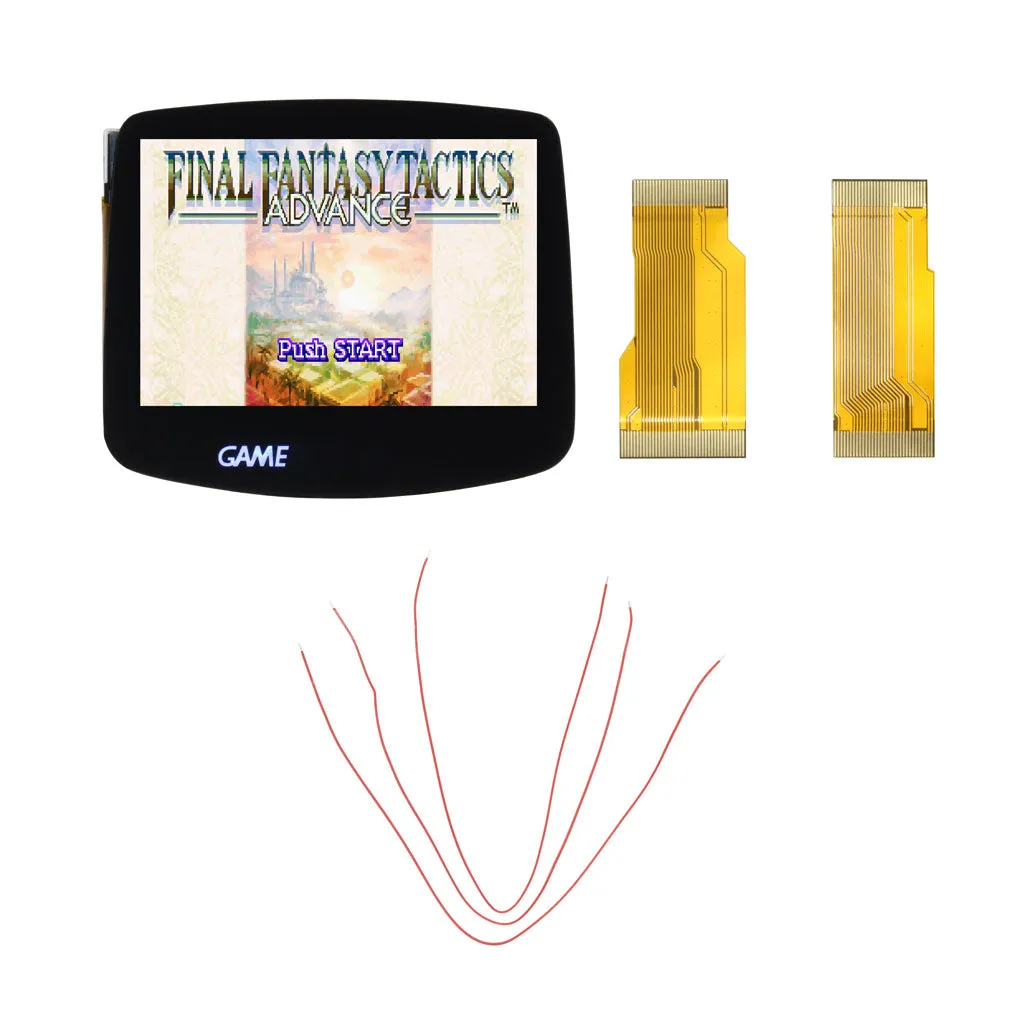
A new Laminated IPS Kit for you Game Boy Advance.
FEATURES:
- V5 Laminated OEM size glass lens.
- Drop-in ready/compatible only with
- 720x480 Resolution.
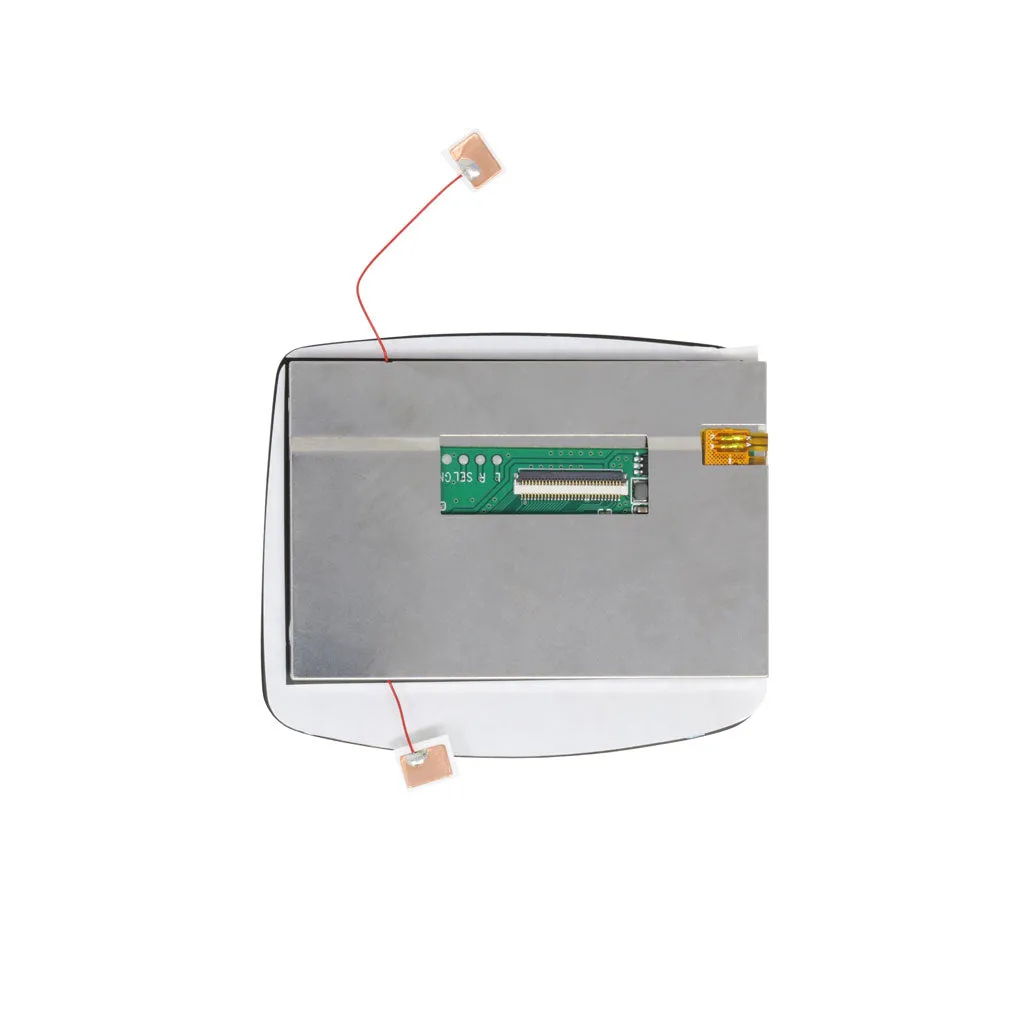
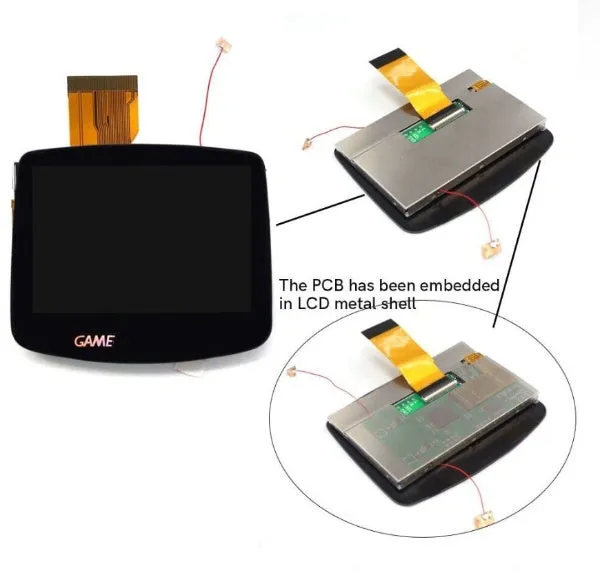
- PCB embedded in the LCD.
- Built-in OSD Menu. Soldering required.
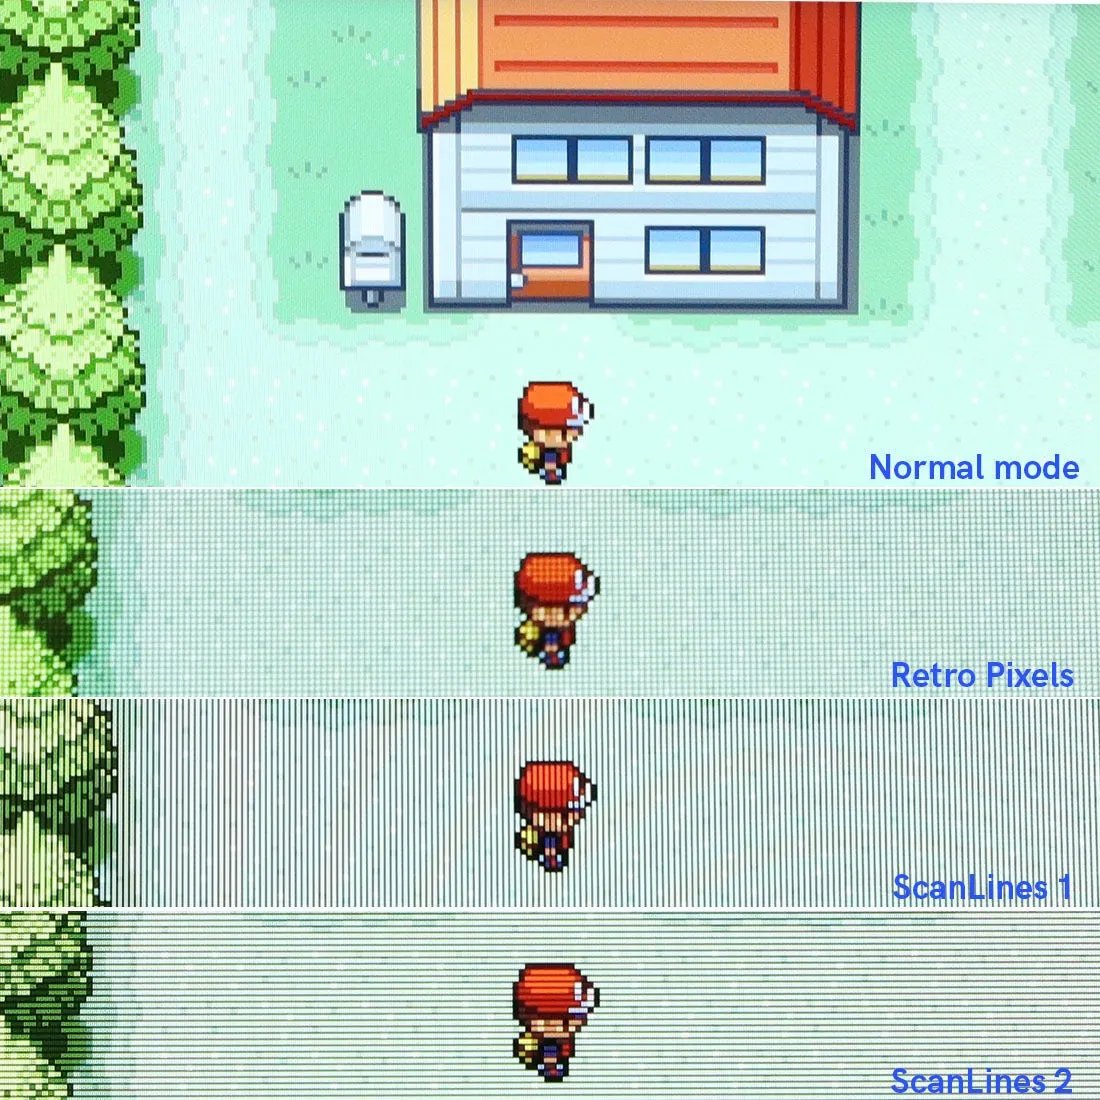
- Retro pixel Effects: Normal, Retro pixel (like original AGS-101 LCD), Scanline 1, Scanline 2 (OSD menu only).
- Saturation Levels.
- Toggle-able Touch Sensors (OSD Menu Only)
- 15 brightness levels.
- 8 color modes.
- Frame blending function. (OSD menu only).
- Touch sensors to change the brightness and the color modes.
- Compatible with 32-pin and 40-pin GBA Console.
INCLUDED:
- 1 x IPS LCD with adhered lens (see warnings) and attached PCB with two pre-soldered touch sensor wires
- 1x 40 pin ribbon
- 1x 32 pin ribbon
- 3 x Wires
PAIRS WELL WITH:
DOCUMENTATION:
NOTES:
- At this time, the is the only shell (laminated or non-laminated) we would recommend for this kit, as the kit was made to be paired with this shell. All non-laminated shells may require heavy trimming in order to be compatible - install at your own risk.
- Not compatible with FunnyPlaying laminated shells or other laminated shells.
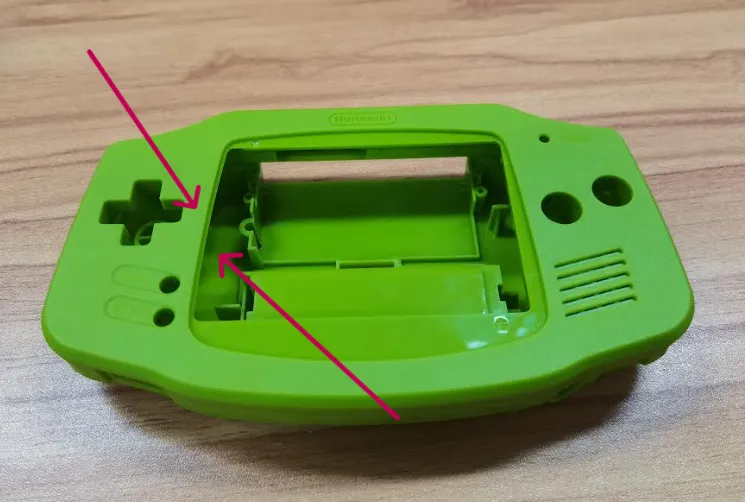
- This kit can be paired with and but it is not recommended - install at your own risk. If pressure spots are noted on the LCD or general fitment issues, a small amount of trimming may be necessary on the shell. Please see product photo that indicates the area of which to trim and how much.
- Applicable console text on lens.
- White and Black variants have holographic text on lens.
OSD Menu Operation:
- Press the Select L R buttons for 1 second at the same time, then release the buttons to activate the OSD Menu.
- Press the Select button to select the adjustment item when OSD Menu activated.
-
Press the L or R button to adjust the item when OSD Menu activated.
- Press the Select L R buttons for 1 second at the same time, then release the buttons to save & exit, or allow for screen timeout.
- Alternatively, holding select and pressing L or R will decrease or increase the brightness level when not using the OSD menu.
Touch Sensor Operation:
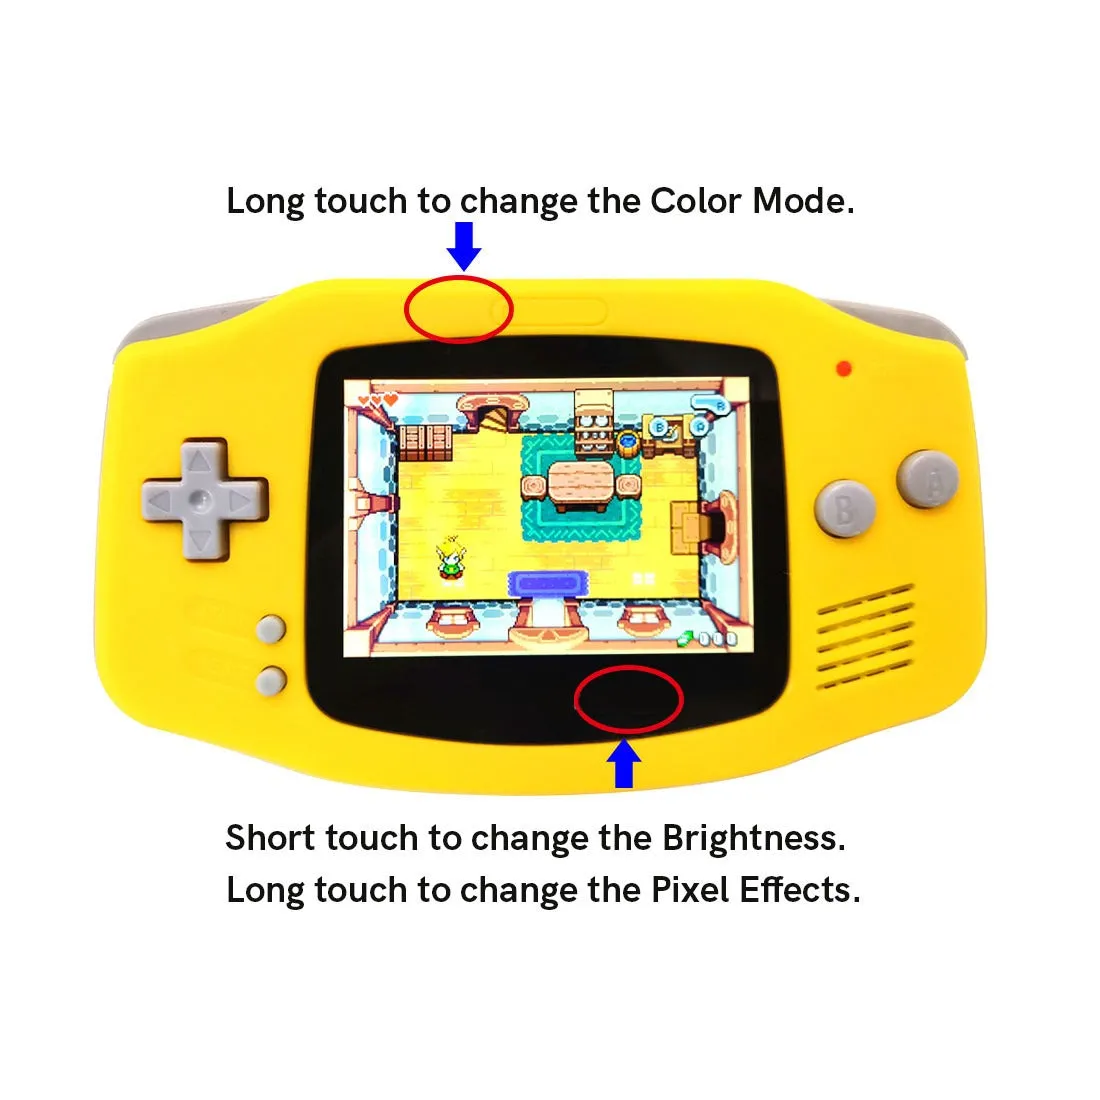
- Tap the bottom touch sensor to adjust brightness in a loop. Hold the bottom touch sensor and the pixel effects will start scrolling automatically, release when the desired effect is reached.
- Hold the top touch sensor and color modes will start scrolling automatically, the top touch sensor does not have a function for tap.
WARNINGS:
- You do not need to purchase a separate lens. Removing pre-adhered lens from LCD can result in damage to the LCD and will void product warranty. If you received an extra lens in your order, this was likely a included plastic lens with a shell and should NOT be placed on top of the pre-adhered lens.
-
Test before installation! When you receive a backlight/LCD kit, you should to assure that nothing has been damaged in transit. A dry run or test fit means the kit is not installed in the shell. This includes the use of adhesives, brackets, and any performed soldering. All ribbon cables should have no bends or creases in them. If you are unsure how to perform a dry run, please contact our support team and we will be happy to help. Backlight kits that have been installed are not eligible for replacement or return.
- LCD may break if put under too much pressure or dropped. Please exercise extreme caution when installing.


")
